
Click the image above to access the links and view the deck in a larger format

 |
| Click the image to access Malchow's Tech Bytes~ November 13-17 |
 Here's hoping everyone has a wonderful and relaxing Thanksgiving break with family and friends. I'll be taking the week off as well to enjoy time with my family so there will not be a Tech Bytes newsletter posted next week.
 As a (former) first grade teacher, we often spent some time discussing the things we were thankful for and incorporated our ideas into some small writing project. Today when I checked my email I found that Melonheadz Illustrating had added their Thanksgiving coloring page freebie to TPT! Melonheadz is one of my favorite clip art creators, and yes, I AM an Official Melonheadz Addict)!!
 |
| Click the image above to access the free download on the Melonheadz TPT store |
 |
| My son and I colored this example together and he then uploaded and did the PicCollage part |
 |
| Click image to access presentation |
 We've been learning about the reading strategy- Determining Importance. This strategy is used when good readers need to decide between what is simply interesting in a text and what's important in order to understand what they are reading.We did an experiment today in which we had a bowl of water with noodles in it which represented our books and stories and a colander which represented our brains. We used the colander (our brain) to strain out the noodles (the important information, the main ideas, and key topics) and left the water (the interesting stuff with little detail) behind. To help solidify the concept, I had my first graders take a picture of our experiment and import that picture into the PicCollage app. They then labeled the pieces of our experiment (interesting, important and brain) and sent it to their parents. Their homework this evening is to explain the experiment and their PicCollage to their parents.
 Our new math program has little lessons called Investigations built into the curriculum. Today we did an investigation having to do with double digit numbers. We spent a few minutes discussing what a double digit number is and giving some examples. We then brainstormed some places that we thought we might find these kinds of numbers. After our discussion, students were paired up and spent 10-15 minutes walking around our classroom and school looking for double digit numbers and taking pictures of them with their iPads.
 It was amazing to see some of the places that students found double digit numbers, everything from clocks and calendars to classroom door numbers and even entrance numbers to our building. I absolutely LOVE this picture of one of my students getting this picture.
 Last time we used PicCollage kiddos figured out how to import photos from the web as their backgrounds. We had Minecraft and Halo backgrounds which really distracted from the learning we were trying to showcase which lead to a fantastic discussion of what would be a better choice. Today, I again reminded them of that conversation and asked that they find backgrounds that complimented their collage versus taking away from their learning. At that point I let them create as I didn't want to micromanage what may come out of their brains. I was quite impressed to say the least with the choices they made for their backgrounds and their ability to work together so collaboratively from start to finish!!!
 Looking for an easy and engaging way for your students to practice their spelling words or high frequency words?
  When the kiddos came in on Wednesday I had the Smartboard on with the word capacity and an image of the PicCollage app icon displayed. We had a quick discussion of what capacity was and then I told them they were going to work with a partner to take 5-8 pictures of items around the room that had capacity. After taking their pics, they were to work collaboratively to create a Pic Collage to represent their findings and label the items they found. Seeing as we are first graders, we quickly wrote our capacity words so that teams had a resource to refer to. With the exception of that bit of information, teams were sent on their way to begin the task. It was great to see them talk about the items they were finding and discussing if the object truly had capacity.
  Once their pics were done, they headed to a cozy spot and began working together to create their collages. Again, the conversations were rich with vocabulary and "tech talk". Students began grouping and arranging their pictures, discussing and labeling their examples and of course, putting their creativity to work in designing their piece.
  I have one student who is visually impaired and utilized braille as his primary form of writing and reading. Even with his visual limitations, he and his partner were able to complete this activity to the benefit of both. They worked together to find the objects, felt them to check for capacity and when it came time to create on the iPad, my little gal every so gently guided him to move images around using descriptive language such as "Slide it more to the right". Our VI (Visually impaired) specialist also brailled the capacity words which my student used to discuss the items they photographed and when it came time to label on their collage, they took pics of the braille words to use as their labels. It was a great team effort for this group and was a true testament to the fact that kiddos can be supportive of each other no matter their abilities. Both learned from each other in this instance, and learned so much more than just math concepts!
 Once we finished our assessment, we got back together as a group and students used Air Server to project their collages onto the SMARTboard. Yes, my students Air Serve independently! (For those not familiar with AirServer, this allows you to mirror whatever is on your iPad through a projector. This has been a fantastic tool for us to share our works with the whole group in a format large enough for all to see. It's also wonderful when introducing apps to students, but more on that another time)
 Once their collage was up, groups came up and shared their pics and what they knew about capacity. One of my students even made the connection that iPads have capacity as well. This was an interesting discussion as most first graders need more concrete examples to see how something would be filled and obviously "seeing the iPad fill" is very abstract. To put it lightly, I was simply amazed!! I truly believe that many times we underestimate what our younger learners understand.
 Each team did a fantastic job problem solving how each person would take somebody else's picture so everyone got a turn (this may seem simple, but for a 1st grader, this can be a big problem solving process) The creativity and differences between each groups projects were neat to see and compare.
  When we were done, we emailed our collages to our buddy class so that they could get to know us better. Our buddy class also used PicCollage and sent us their creation which we now have proudly displayed in our classroom. This has really helped us to put a name to a face (pun intended) and is helping us to feel more connected with our buddies when we read their posts on Twitter.
 |
| The finished product and a happy team! |
 This week we discussed how to take pictures. We learned how to zoom in and out, how to change our vantage point by turning the iPad horizontal versus vertical and what makes a good picture. The kiddos did a fantastic job and it was neat to see the pictures they took as their eye for a great picture is often different than what we might expect. I made sure to go around and conference with each of the kiddos regarding their pictures to find out what they thought (were they blurry, too far away, or maybe didn't show what they wanted?) If they had some that didn't meet the criteria or their expectations, we discussed how to delete those pics and redo them.
 After finishing our pictures of the items in our Me Bags, we learned how to import our pictures into the app, PicCollage. This is a free app that allows you to collage your pictures, add text and stickers, and change fonts and backgrounds. It's a powerful, but very easy app to use.


 Another Pic Collage project. As I've said a gazillion times before- PicCollage is one of my go-to apps. It is so easy for first graders to use and share.
 I've talked about my love for the PicCollage app on several occasions but it truly is a wonderful creation app for first graders to use independently. Last week in math we worked on the topic of capacity. Throughout the lessons we discussed what capacity was and worked with several examples. On one of our math journal pages students were asked to write down other examples of items
  that had capacity. We made it a bit more engaging and authentic by taking pictures of items with our iPads which we then imported into PicCollage. After students finished with their creations, we used Air Server to project our creations onto the Smartboard for all to see and discuss. In my opinion, this ended up being a much more engaging and collaborative way of addressing the
 We started by talking about what nouns are and then sorted pictures into the 3 categories.


 The more I use PicCollage, the more I like it and the more ways I can think of integrating it. After our first attempt at PicCollage this year (see below for the disaster... well maybe not disaster, but not quite how I expected the project to

 This year as part of our Halloween celebration, we did The Candy Corn Bandit project from Abby's The Inspired Apple blog. If you've never checked out her blog, it's a definite "must do" on your ever growing To-do list! The kids had a blast inferring and predicting while following the clues that had been left around our building in hopes of retrieving our stolen jar of candy corn.
 To put a tech twist on it, we learned how to use the cameras on our iPads. We discussed many of the basics such as holding still while taking the picture (something that is difficult for many of my munchkins), as well as how to zoom in to get a closer picture. Then as we went in search of our missing candy corn, we took pictures along the way to document the various clues we found.
 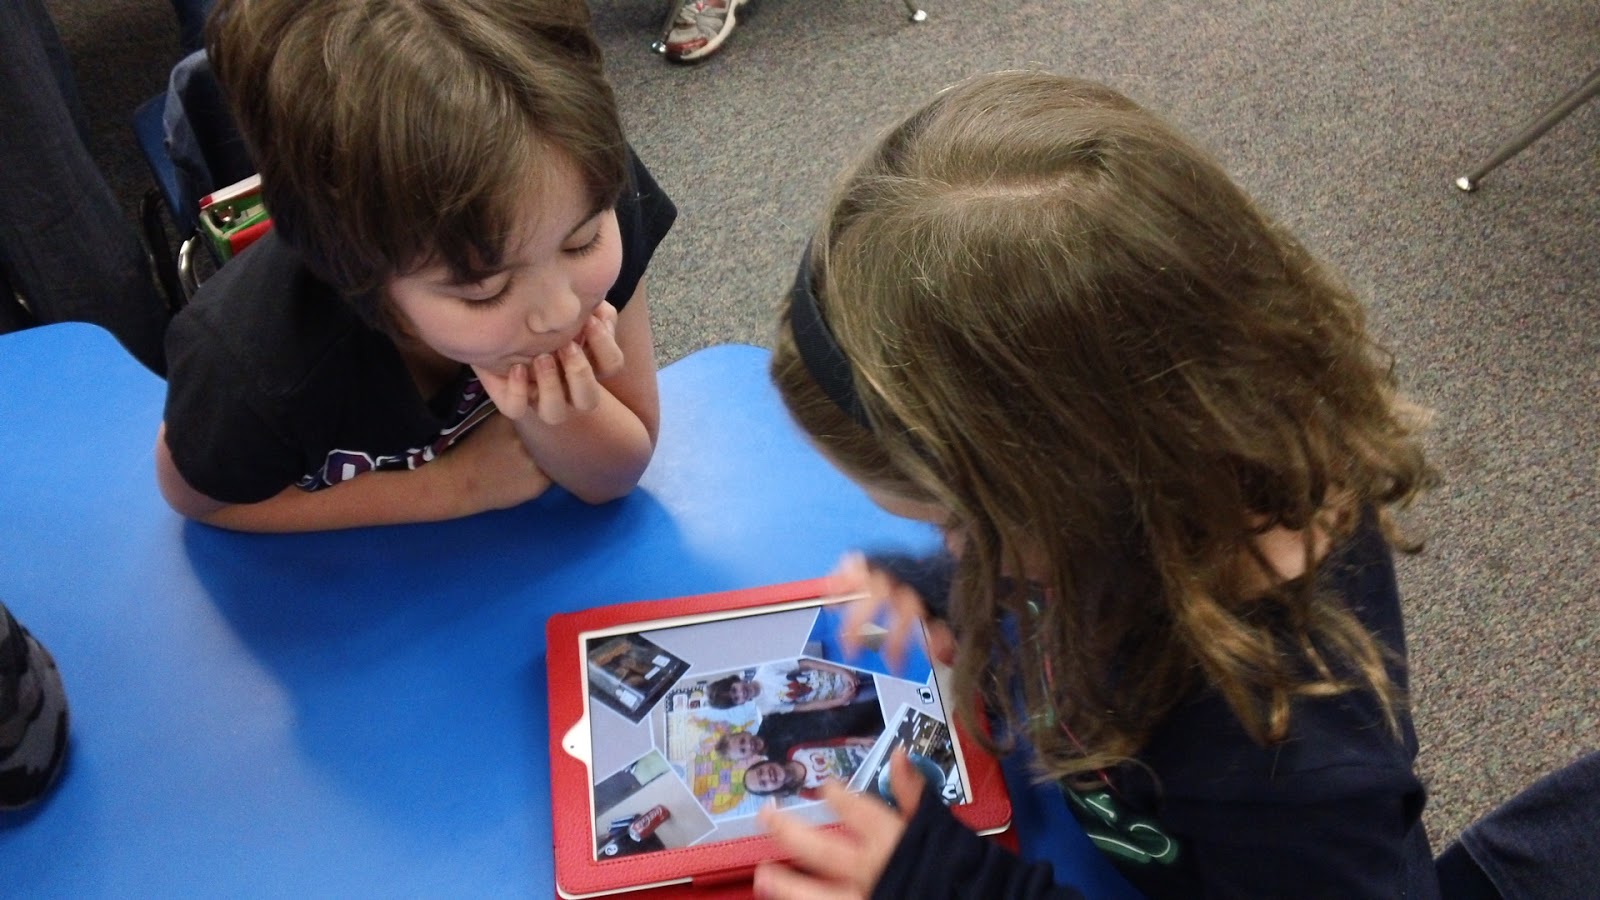 In our current math series, there isn't much time spent on 3D shapes short of learning their names and characteristics- most of which is spent looking at wooden representations of these shapes or pictures in our math journal (boring!). So to spice things up a bit and make our learning more real-world, we went on a 3D shape hunt using the cameras on our iPads to find and photograph real-life examples of 3D shapes. Students worked in groups of three (we only have 5 iPads available to us) and had a check list of the shapes we had studied.


