
With the blessing of our tech department, it was time to get them all switched over to iOs10 so we could have some consistency once again. I also had the grandiose idea wanting to add a little more consistency as all of our screen savers were different as well so I decided to add add a home page screensaver with the number of the iPad and a lock screen image with our iPad expectations.

 With as busy as I've been, I didn't have time to create my own so I went in search of a premade template and found these movie themed backgrounds and Super Hero backgrounds by Erintegration that were fun looking, gender neutral and not too primary looking since our library iPads are used by K-4. Erih has great directions for getting these on to your iPads, but with having to do 43 iPads between my 2 buildings, I needed something faster.... enter Air Drop!!!
If you've not used AirDrop, it's a great way to get pictures from one iPad to another quickly and easily which has wonderful benefits when needing to get pics to students to create projects or alleviate image searches for youngers. This is handy when needing to share field trip pictures from one iPad to many or wanting to have your device preloaded with pictures for your word sort, etc. (Side note: AirDrop works on iPad 4s and later and you have to be running iOs 7 or later)
 To share content you need to first swipe up from the bottom of your screen to open your control center. Tap on Air Drop and then choose an option- I chose AirDrop: Everyone as the shared iPads are not part of my contacts. (On my personal device, I leave this as Contacts Only and switch to Everyone only when needed)
Next, go to your photos and tap on the content that you want to share. Once you've made your selections, touch the sharing arrow in the top, left corner.
 After you click on the sharing arrow you will see a list of devices that are available to Air Drop to. Click on the devices you want to share your content with. If you don't see the device you are wanting to send to, make sure that the device is powered on and that the AirDrop settings for that device are also changed to Everyone.
 On the receiving iPad you will see a pop up like this one asking if you want to decline or accept the photos. Once you accept, the photos will be placed in your camera roll. Easy Peazy!! After doing a couple, I found a great way to set my devices up so that I basically had a processing line set up and I was able to get all of the iPads done in about 30 minutes! Awesome! And they look great! The excitement from the kiddos siad it all when they powered them on for the first time and didn't realize what I had done- LOTS of ooohs and ahhhs!!
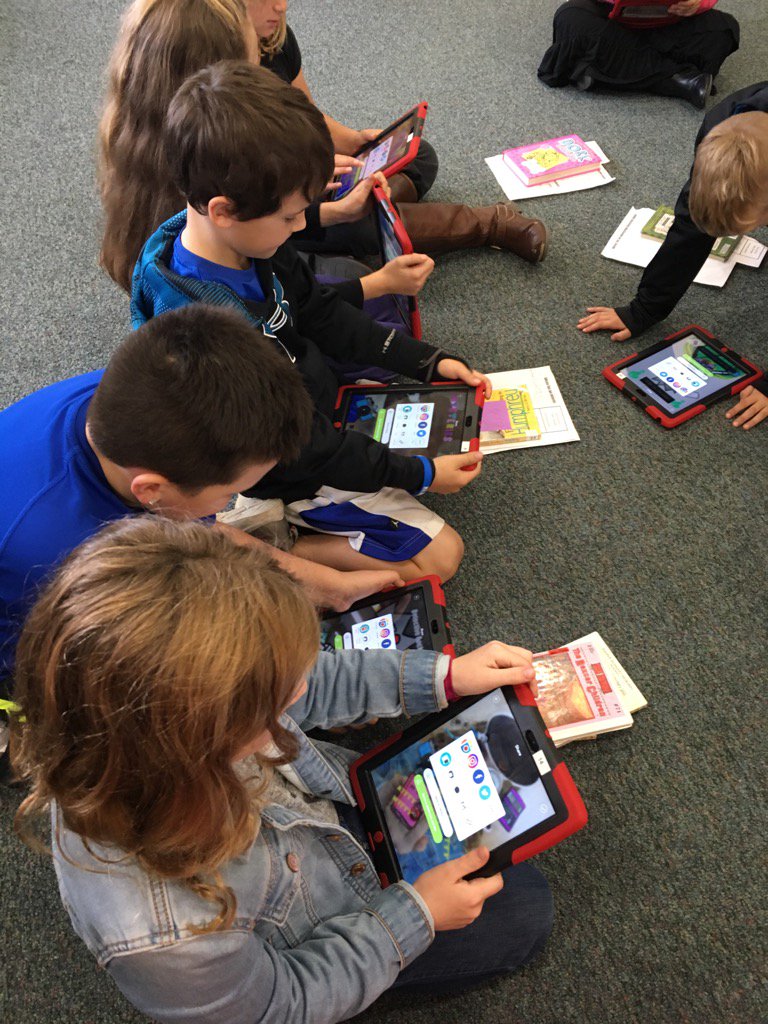 This also works great in reverse as well. After sharing this information with my staff, one of the teachers asked if her kiddos could AirDrop their finished detective PicCollages from our shared iPads directly to her teacher iPad rather than sending her an email- guess what? Yup! They sure could and it made things easier for her as she didn't have 15 emails to sort through but rather had all 15 right in her camera roll ready to use as she wished!!!!
Here are the directions in a quick format:

No comments:
Post a Comment